Sometimes you need a little bit more green to get you where you need to go and for those times when extra-stoniness is a must, the go-to choice is Moonrocks, also known as Caviar.
Caution: do not pair Moonrocks with your gravity bong, gas mask, or 6-foot bong, unless you have called in sick from work in advance. Moonrocks pack a wallop and should be smoked responsibly.
This triple whammy consists of the holy trinity of weed all in one place: whole flower, cannabis concentrate (made using a process that uses solvents to extract the active constituents of flower, creating a sticky wax or oil), and kief or bubble hash (the trichome heads that contain cannabinoids and terpenes that have been manually separated from flower using cold temperatures and agitation).
While available in pre-made form (Emerald Jane’s Spacegems), this out-of-this-world weed experience can easily be made at home and is super customizable.
There are several ways you can make your Moonrocks:
- Dial-in your preferred cannabinoid ratio: for example your favorite flavor THC weed with a 1:1 concentrate and a high CBD bubble hash, such as Puffin’s Dancehall.
- They can also be made inexpensively using excellent but-value-oriented ingredients, such as Natural Mystic popcorn, Luvit Dabs, and Emerald Jane’s Kief.
- This project is excellent for clearing out the last little bits of your stash. Make Moonrocks with the little nugs floating around the bottom of your bags and jars, leftover dabs, and the good stuff you’ve been collecting in the bottom level of your grinder.
Basic Supplies:
- Flower (dense strains work best)
- Concentrate
- Concentrate that is already in a tanker, such as Walden’s distillate works especially well for this
- You can use WPE (whole-plant extract), but the finished product will taste better if you use something you would dab with
- Choose something with a smooth consistency; you will want to avoid “Terps and Diamonds” style extracts that consist of THC crystals in a loose base of terpene “sauce”
- Kief (the cost-effective option)— trichomes that are passively collected during flower trimming, grinding, and processing, or Bubble Hash (the luxury choice)— trichome heads that have been removed from flower using ice water and manual agitation.
- A dropper or dab tool
- Container of hot water at simmering temperature (185 F)— not boiling (208 F)
- Zip-top bag
- One of the following: wax paper, parchment paper, a dab or Silpat mat to protect your work surface
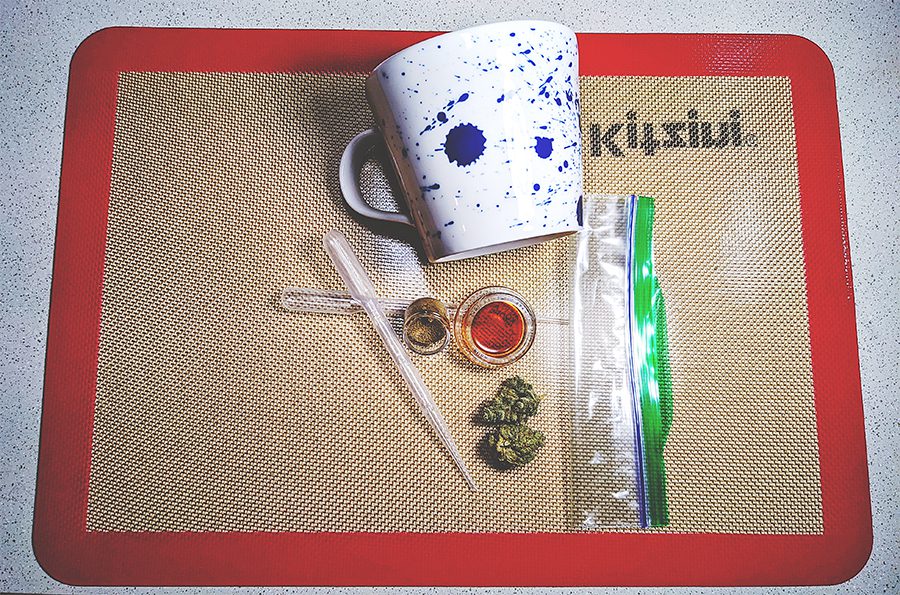
Optional Supplies:
- Small dish for kief
- Parchment or wax paper to line your kief dish
- Tweezers
- Rubbing alcohol to clean your hands and tools
Steps:
- Prepare your work surface with the material you have on hand (wax paper, parchment paper, a dab or Silpat mat) so it doesn’t get sticky.
- Put your concentrate in your zip-top bag, remove air, and seal tightly. Submerge in hot water until the concentrate becomes loose enough to suck up into the eyedropper or smear onto nugs with a dab tool, about 5 mins.
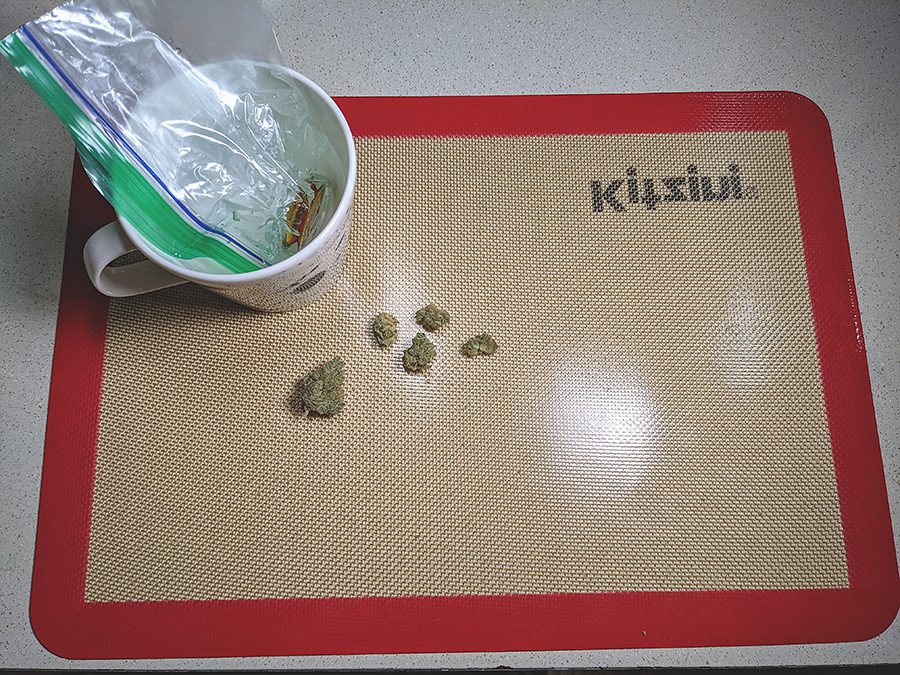
- Break your buds up into smaller bowl-sized pieces. Look for pieces you could load into a bowl whole, or that are small enough to sandwich with regular weed.
- Once your concentrate is nice and loose, use the eyedropper or dab tool to drop the warmed extract onto your flower.
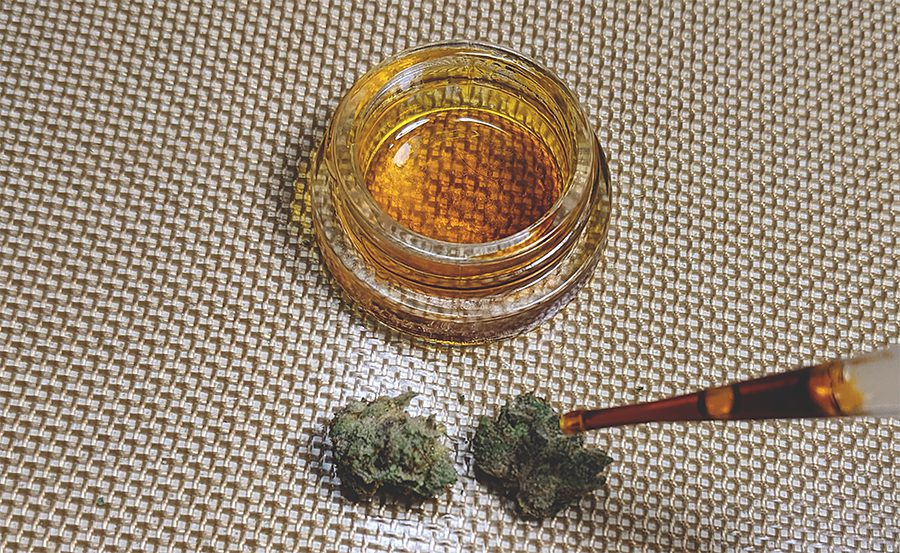
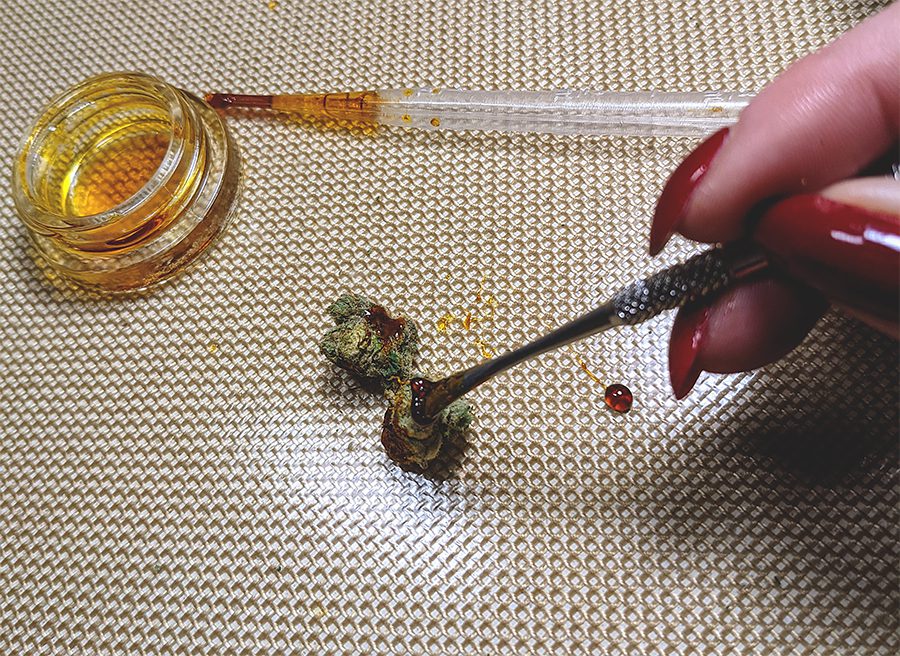
- Working quickly, use your dab tool or the tip of your dropper to spread the extract over the bud until you are satisfied with the coverage. Tweezers are helpful here.
- You’ll need to move fast because the extract will firm up as it cools, making it more difficult to spread.
- You can also dip the flower into your extract, but that can result in a “wetter” product that takes longer to dry.
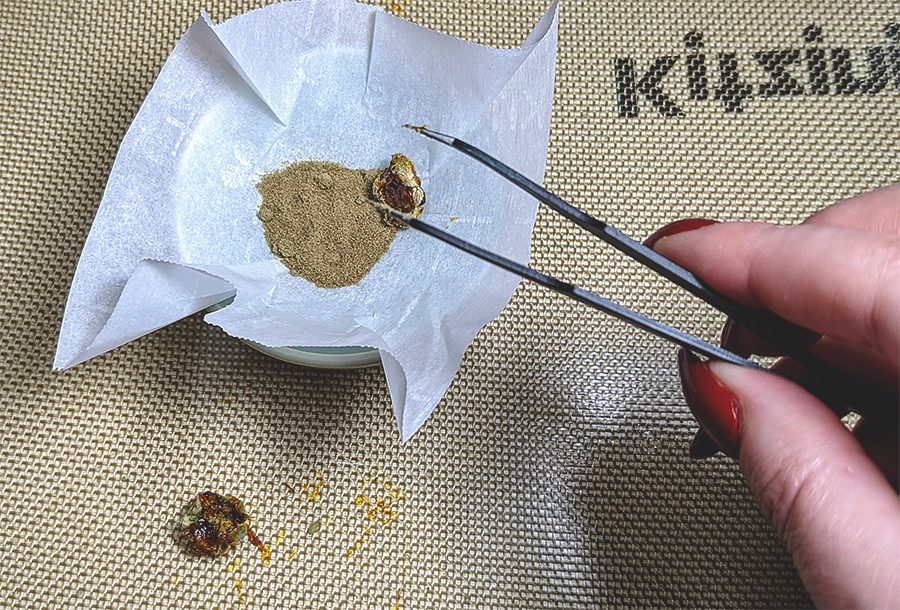
- Once you have coated your flower in extract, place it in your kief or bubble hash, then roll the nug around to coat it thoroughly. You can see in the picture, we moved our kief into a small dish lined with parchment paper. This gave us a little extra room to work, while also making it easy to get our leftover kief back into its container once we finished making Moonrocks.
-
Move your fresh Moonrocks into a glass jar and cover with tin foil, parchment paper, or a piece of paper. This helps to keep dust and pet fur off your rocks, while still allowing for some airflow. You’ll want to give your dosed nugs 24-48 hours to cure or set up. If you’re unsure, give them 4 days. Once you are satisfied with the moisture level, move them into a clean old weed jar, cap tightly, and store them in a dark cool place.
Do’s and Don’ts of Moonrocks
-
- Do gather your favorite snacks in readiness, select your favorite piece to smoke from, and ensure you have completed operating heavy machinery for the day. You’re gonna get HIGH. Comfort is key.
- Do smoke your Moonrocks out of a piece of paraphernalia such as a pipe, bong, bubbler, or chillum.
- Do use scissors or a sharp blade to carefully and roughly chop your Moonrocks into a convenient size if they are too big for your bowl.
- Do process your Moonrocks on a piece of paper so you can collect any leftover kief or bubble hash to top your bowl with.
- Do sandwich your Moonrocks between regular flower
- Do keep some rubbing alcohol on hand to clean up any sticky residue your Moonrocks might leave behind on surfaces, tools, or your hands. *Please test rubbing alcohol on surfaces in a discreet place before applying to ensure it won’t damage the finish.
- Do not roll your Moonrocks in papers or wraps. Moonrocks have an extremely high cannabinoid content, which can lead to clogged tips and sticky lips when rolled in joints or blunts.
- Do not use grinders to break up your Moonrocks; they will clog up your grinder and make a big, sticky mess.
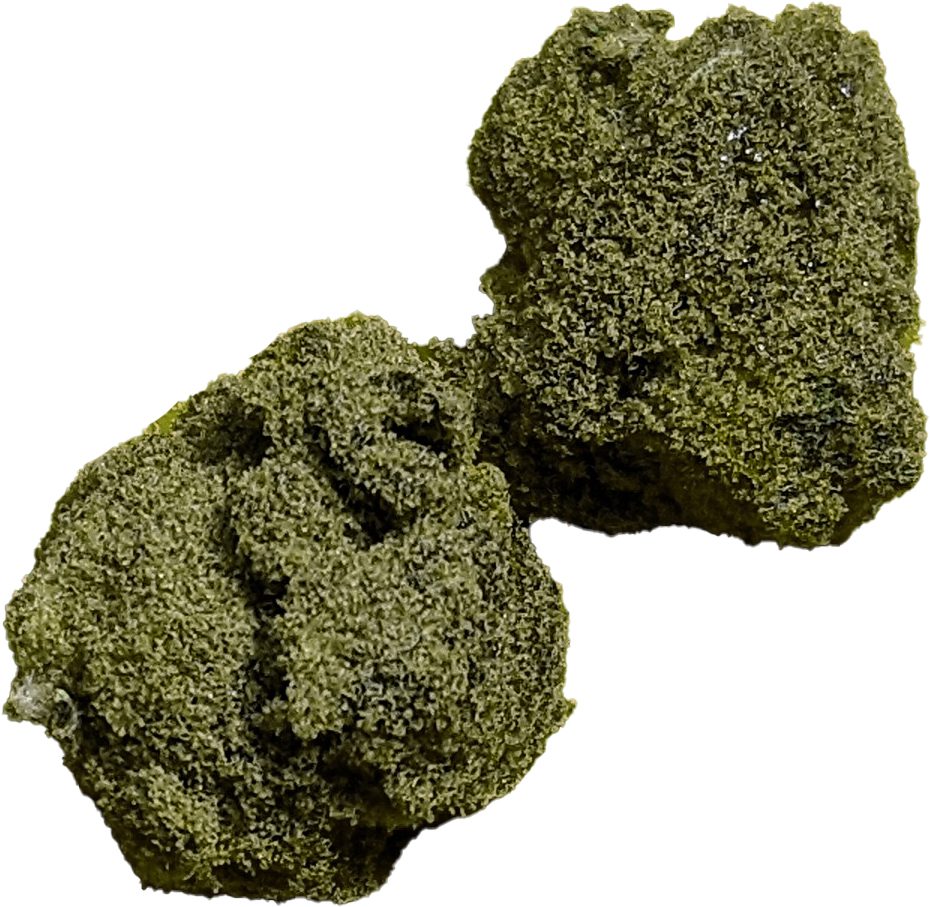
Moneyshot of DIY Moonrocks.
The post DIY Cannabis Moonrocks appeared first on Dockside Cannabis.
source https://www.docksidecannabis.com/dockside-blog/diy-cannabis-moonrocks/
No comments:
Post a Comment